Mastering the Halloween Letter U Mug Wrap: A Guide to 3D Sublimation Design
The intersection of seasonal creativity and modern printing technology has given rise to a vibrant market for personalized home goods. Among these, the Halloween Letter U Mug Wrap Sublimation 2 stands out as a prime example of how digital art can be transformed into tangible, functional decor. For crafters, small business owners, and DIY enthusiasts, understanding the nuances of sublimation mug production is essential. This guide explores the intricacies of creating high-quality, custom mug designs, focusing specifically on the technical and artistic aspects of the "Letter U" themed wrap.
Understanding the Basics of Sublimation Printing
Before diving into the specific design elements of a Halloween-themed wrap, it is crucial to understand the medium itself. Sublimation printing is a digital printing process that uses heat to transfer dye onto materials such as fabric, plastic, or polymer-coated substrates. Unlike traditional inkjet printing, which sits on top of the surface, sublimation ink turns into a gas when heated and bonds with the polymers in the material. This results in a durable, fade-resistant image that becomes part of the product rather than just a sticker on top.
For mug creators, this means that the sublimation mug must have a special polymer coating. Standard ceramic mugs will not work unless they are specifically treated for sublimation. The process requires precision, particularly when dealing with curved surfaces. This is where the concept of a mug wrap template becomes invaluable. A template ensures that your design aligns perfectly around the circumference of the mug, preventing awkward gaps or overlapping seams.
The Role of Digital Assets in Custom Design
In the modern crafting ecosystem, most designers do not start from scratch. Instead, they utilize digital mug wrap assets, such as the Halloween Letter U Mug Wrap Sublimation 2. These assets are typically provided as high-resolution PNG files with transparent backgrounds. The transparency is critical because it allows the designer to place the artwork over any background color or pattern without unwanted white boxes appearing around the edges.
When you purchase a sublimation bundle or a single mug wrap clipart file, you are buying the right to use pre-made sublimation graphics. These files are often referred to as mug wrap PNG files. It is important to note that these are raster images, meaning they are made of pixels. Therefore, resolution matters immensely. A file that is too small will appear pixelated and blurry when printed on a large mug. The standard for professional quality is 300 DPI (dots per inch), ensuring crisp lines and vibrant colors.
Deconstructing the Halloween Letter U Design
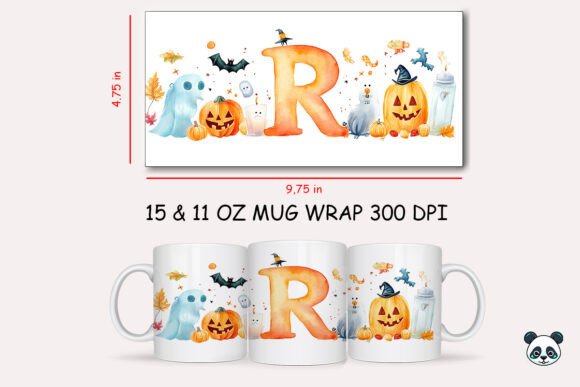
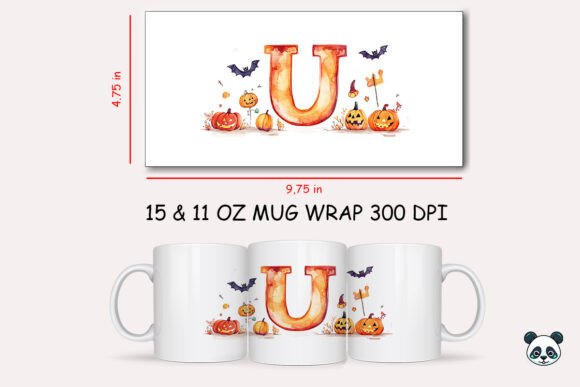
The Halloween Letter U Mug Wrap Sublimation 2 is more than just a letter; it is a thematic composition. In the context of 3D mug design, the term "3D" often refers to the visual depth created by shadows, highlights, and layering within the flat digital file, rather than the physical shape of the mug. This particular design likely features spooky elements such as bats, pumpkins, ghosts, or eerie typography integrated with the letter "U".
Why focus on a single letter? Personalization is a massive trend in the gift industry. A personalized mug with a monogram allows the recipient to feel a unique connection to the item. By using a custom mug design approach, creators can offer a wide variety of initials without having to design each one from scratch. The "Letter U" might represent a name like "Uma," "Ursula," or simply serve as part of a larger word like "BOO" or "FUN" if combined with other letter wraps.
Technical Specifications and File Management
When working with digital downloads, understanding the file structure is key to a smooth workflow. Typically, when you purchase a digital download for a mug wrap, you will receive a ZIP file. This compressed folder contains the necessary assets, usually including:
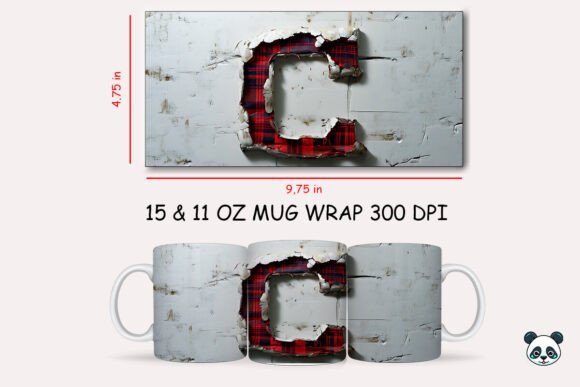
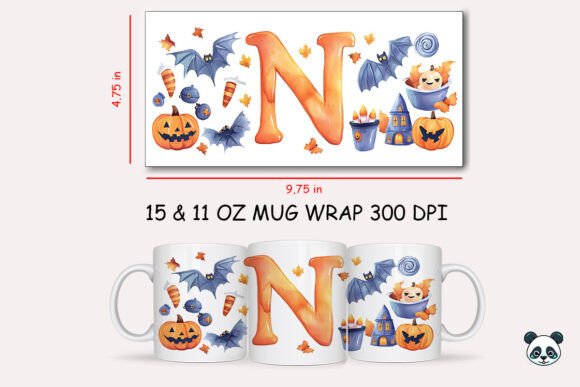
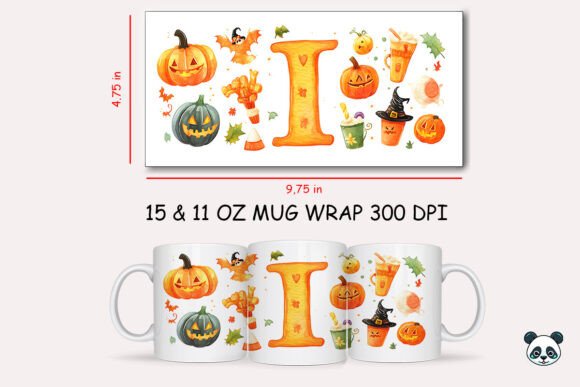
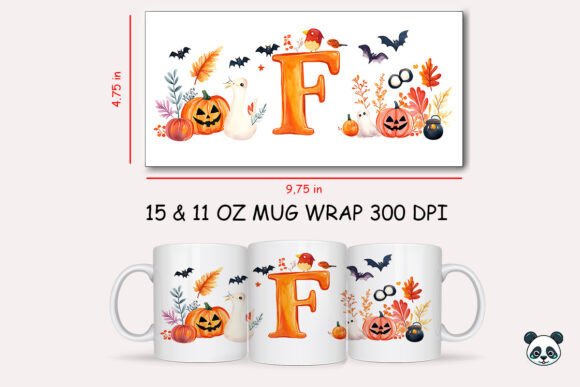
- High-Resolution PNG Files: The primary artwork, sized appropriately for standard mugs (e.g., 9.75 inches by 4.75 inches).
- Mockup Images: Sometimes included to help you visualize the final product for marketing purposes.
- Instruction Guides: Basic tips on how to handle the files.
It is vital to clarify a common misconception: These are NOT SVG files. SVG (Scalable Vector Graphics) files are used for cutting machines like Cricut or Silhouette. Sublimation relies on raster images (PNG or JPG). If you attempt to use a PNG file in a cutting machine software expecting an SVG, you will not be able to cut out the shape cleanly. Conversely, you cannot sublimate an SVG directly without converting it to a high-resolution raster image first. Always ensure your design software supports PNG files with transparency.
Practical Application: From Download to Finished Product
Creating a custom mug wrap involves several steps. First, you must unzip the downloaded file using a computer. Mobile devices can sometimes struggle with extracting complex ZIP folders correctly, so a desktop or laptop is recommended. Once extracted, open your preferred design editing program. Popular choices include Adobe Photoshop, Canva, or CorelDRAW. These programs allow you to manipulate the mug wrap illustration, add text, or combine it with other sublimation elements.
After designing, the next step is printing. You will need sublimation paper and ink. Print the design in mirror mode (reverse image) because the transfer process flips the image back to its correct orientation. Once printed, tape the paper securely around the mug, ensuring there are no wrinkles. Use a heat press designed for mugs, setting the temperature and time according to your specific mug manufacturer’s recommendations—typically around 380°F for 180 seconds.
Common Pitfalls and How to Avoid Them
- Ghosting: This occurs when the paper shifts during the pressing process, causing a blurred double image. Secure the paper tightly with heat-resistant tape.
- Color Banding: If the gradient in your digital art looks striped, the file resolution may be too low, or the printer settings are incorrect. Always check that your file is 300 DPI.
- Wrong File Format: As mentioned, ensure you are not trying to use cutting files for printing. Stick to PNG or JPG for sublimation.
The Broader Impact of Digital Crafting
The availability of resources like the Halloween Letter U Mug Wrap Sublimation 2 democratizes design. It allows individuals without advanced graphic design skills to produce professional-looking products. This has significant implications for small businesses and side hustles. Entrepreneurs can curate a mug wrap collection by licensing various designs, offering customers a wide range of options without the overhead of hiring a full-time designer.
Furthermore, this trend encourages creativity in education and family activities. Parents and teachers can use these templates to create themed gifts for holidays, fostering an appreciation for art and technology. The ease of access to printable mug wrap designs means that anyone with a heat press can become a creator.
Final Thoughts on Quality and Creativity
In conclusion, the Halloween Letter U Mug Wrap Sublimation 2 represents more than just a festive decoration; it is a testament to the power of digital tools in modern crafting. By understanding the technical requirements of sublimation printing design, respecting file formats, and embracing the creative possibilities of 3D sublimation visuals, you can create stunning, personalized items. Whether you are making a gift for a loved one or stocking your online store, mastering these techniques ensures high-quality results that stand out in a crowded market.
Remember, the key to success lies in the details: high-resolution files, proper equipment, and a keen eye for design. With the right sublimation clipart and a bit of practice, your custom design mug projects will thrive. Embrace the digital revolution in crafting, and let your creativity flow through every press of the heat machine.