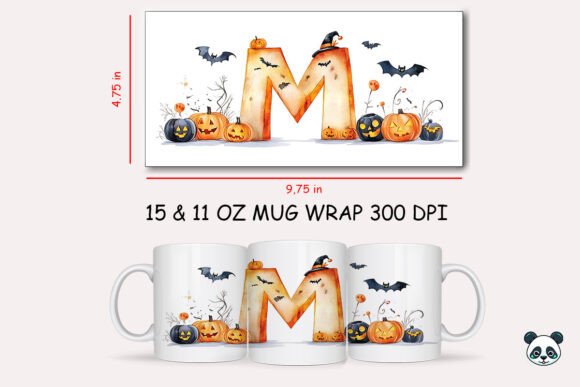
Mastering the Halloween Letter M Mug Wrap Sublimation for Flawless 3D Results
Creating personalized drinkware has become a cornerstone of the custom merchandise industry, and few projects capture the seasonal spirit quite like a Halloween Letter M Mug Wrap Sublimation design. Whether you are crafting gifts for family or building inventory for your small business, the appeal of a spooky, customized mug is undeniable. However, the transition from a digital file to a physical product is often where enthusiasm meets frustration. Many creators assume that purchasing a high-quality digital mug wrap guarantees a perfect outcome, but this is a common misconception that can lead to wasted materials and disappointed customers.
The reality of sublimation printing is that it requires precision at every stage. A 3D mug wrap involves more than just pressing heat onto ceramic; it requires an understanding of how ink interacts with polymer coatings, how tension affects image alignment, and how file specifications impact print clarity. By addressing common pitfalls early, you can ensure that your mug wrap design translates beautifully from screen to substrate.
Understanding File Specifications and Resolution
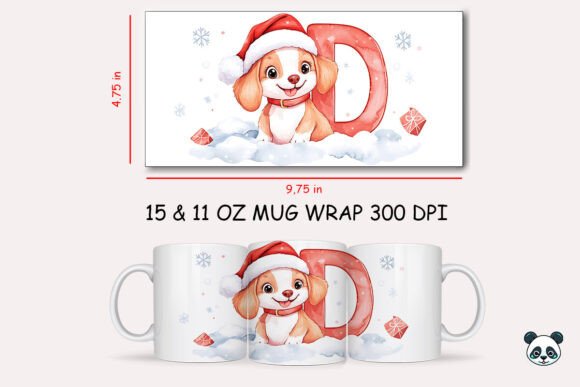
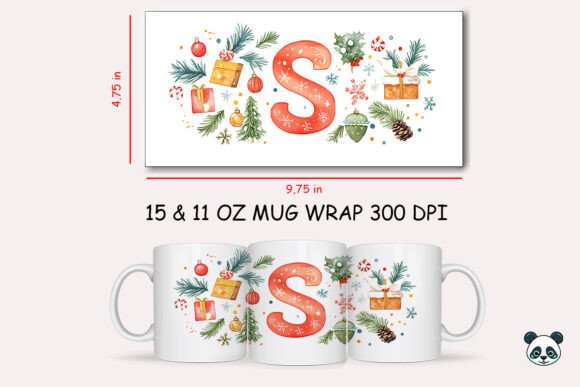
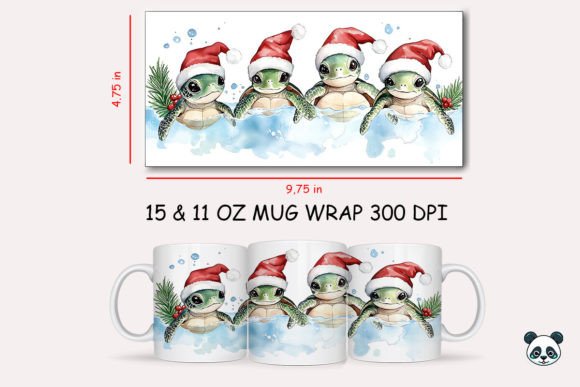
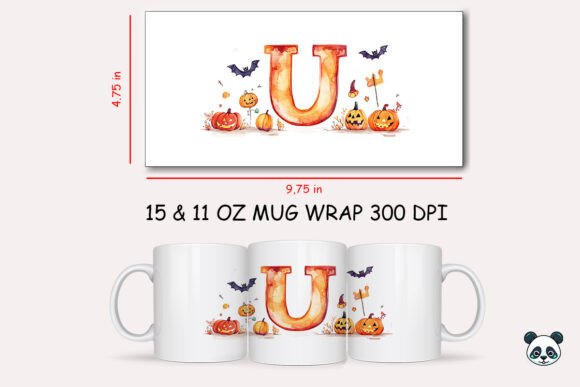
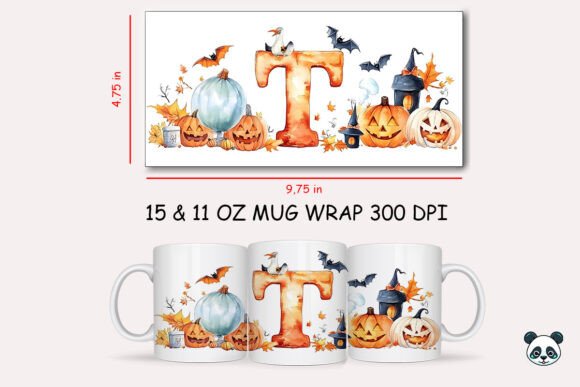
One of the most frequent errors beginners make is overlooking the technical requirements of their mug wrap template. When you download a Halloween Letter M Mug Wrap Sublimation bundle, you are typically receiving a PNG file with a transparent background. While these files are optimized for ease of use, they are not magic. A standard high-quality wrap is usually sized around 9.75 inches by 4.75 inches at 300 DPI. If you attempt to resize this image significantly without maintaining the aspect ratio or resolution, you will encounter pixelation.
Pixelation ruins the professional look of your custom mug design. Blurry edges on letters or ghosting in the artwork signal low-quality production to buyers. To avoid this, always check the dimensions of your mug wrap PNG before opening your design software. Ensure your canvas settings match the file size exactly. If you are using a sublimation bundle that includes multiple elements, verify that each layer is aligned correctly within the template boundaries. Remember, these are raster images (PNG or JPG), not vector files. They cannot be scaled up infinitely like SVGs. Treating them as such will degrade the quality of your sublimation graphics.
The Misconception of Cutting Files
A critical distinction that often confuses new entrepreneurs is the difference between sublimation prints and cut files. The Halloween Letter M Mug Wrap Sublimation files provided in digital downloads are strictly for printing. They are not SVG files and cannot be used with cutting machines like Cricut or Silhouette for vinyl applications. Attempting to use a PNG mug wrap clipart as a cut file will result in failure, as the machine cannot interpret the pixel data as cut lines.
This misunderstanding can lead to significant time loss. If your goal is to create a layered look involving vinyl and sublimation, you must source separate vector files for the vinyl components. For pure sublimation projects, rely on the transparent background of the PNG to allow the white ceramic of the sublimation mug to show through where intended. This technique creates a clean, integrated look that vinyl often struggles to achieve on curved surfaces.
Printer Settings and Color Management
Even with a perfect digital download, your output is only as good as your printer settings. A common mistake is printing on standard paper or using incorrect color profiles. Sublimation ink requires specific sublimation paper to transfer effectively. Using copy paper will absorb too much ink, resulting in dull, washed-out colors on your mug decoration. Furthermore, ensure your printer is set to "High Quality" or "Photo" mode. Standard draft modes save ink but sacrifice the vibrancy needed for striking Halloween themes.
Color management is another overlooked detail. Screens emit light, while printed ink reflects it. The bright oranges and deep blacks of your mug wrap illustration may appear differently on paper. It is advisable to print a test strip on regular paper first to check color balance. Adjust your brightness and contrast settings in your editing program if the image appears too dark, as sublimation transfers can sometimes darken slightly during the heating process. This proactive step saves you from ruining expensive sublimation mugs with poorly calibrated prints.
Heat Press Techniques for 3D Wraps
Applying a 3D mug wrap requires more finesse than a standard flat press. The curvature of the mug means that tension must be even across the entire surface. A frequent error is wrapping the paper too loosely or too tightly. Loose wrapping causes "ghosting," where the image shifts during the press cycle, creating a double-vision effect. Tight wrapping can cause the paper to tear or create wrinkles that prevent ink transfer in specific spots.
To achieve a flawless 3D sublimation result, use high-temperature heat-resistant tape to secure the printable mug wrap firmly. Start taping from the center and work your way out to eliminate air bubbles. Ensure there are no gaps between the paper and the mug surface. Any air pocket will result in a blank spot on your custom design mug. Additionally, pay attention to the handle area. Most mug wrap sets are designed to leave a gap near the handle for comfort and practicality. Align your design carefully so that the main focal point, such as the letter M, is centered on the visible face of the mug, not hidden near the handle.
Verifying Your Digital Assets
Before you begin printing, take a moment to audit your mug wrap collection. Ensure you have the necessary software to unzip and view the files. Since these are instant digital downloads, there is no physical shipping involved, which means you are responsible for file management. Store your sublimation elements in an organized folder structure. Label files clearly with their dimensions and intended mug size. This organization streamlines your workflow, especially when handling multiple orders or creating variations of your mug artwork.
Finally, remember that practice is essential. Your first few attempts at sublimation printing design may not be perfect. Use cheaper blanks for testing until you master the timing and temperature of your heat press. By respecting the technical nuances of the Halloween Letter M Mug Wrap Sublimation process, you transform a simple digital file into a high-value, professional product that stands out in the marketplace.